

Hey there! As a drying machine supplier, I get a ton of questions about how to install these nifty appliances. So, I thought I'd put together a little guide to walk you through the process. Whether you're a DIY enthusiast or just looking to save some bucks on installation fees, this post is for you.
Step 1: Choose the Right Location
First things first, you need to pick the perfect spot for your drying machine. It should be a well - ventilated area with enough space around it for proper air circulation. You don't want it to be cramped up in a corner because that can lead to overheating and reduced efficiency. Also, make sure the floor is level. An uneven floor can cause the machine to vibrate excessively during operation, which is not only annoying but can also damage the machine over time.
Another important factor is proximity to a power source and a water drain. You don't want to be dealing with long, messy cords or hoses. It's best if the power outlet is within easy reach and the drain is close enough so you can connect the machine without any hassle.
Step 2: Unpack and Inspect the Machine
Once you've found the ideal location, it's time to unpack your drying machine. Carefully remove all the packaging materials and check the machine for any visible damage. Look for dents, scratches, or loose parts. If you notice anything wrong, don't hesitate to contact us right away. We'll sort it out for you.
Also, make sure you have all the necessary accessories that came with the machine. This usually includes a power cord, a water drain hose, and sometimes installation brackets. If any of these items are missing, just let us know, and we'll send them to you.
Step 3: Prepare the Installation Area
Before you start setting up the machine, clean the installation area. Remove any dust, dirt, or debris. This will ensure a clean and stable surface for the machine. If the floor is dirty, it can cause the machine to slide around or make it difficult to level.
If you're installing the machine on a wooden floor, you might want to consider using a rubber mat or a vibration - absorbing pad. This will help reduce noise and prevent damage to the floor.
Step 4: Level the Machine
Leveling the drying machine is crucial. You can use a bubble level to check if the machine is perfectly horizontal. Most drying machines have adjustable feet at the bottom. You can turn these feet clockwise or counterclockwise to raise or lower the machine as needed.
Start by placing the level on top of the machine. If the bubble is off - center, adjust the feet until the bubble is in the middle. Make sure to check both the front - to - back and side - to - side levels. A properly leveled machine will run smoothly and last longer.
Step 5: Connect the Power Cord
Now it's time to plug in the machine. Make sure the power switch is in the “off” position before you connect the cord to the power outlet. Check the voltage requirements of your drying machine. It should match the voltage of your power outlet. If you're not sure, you can always refer to the user manual or give us a call.
Once you've confirmed that everything is okay, plug the cord into the outlet. Avoid using extension cords if possible, as they can cause power issues and pose a safety risk.
Step 6: Connect the Water Drain Hose
Connecting the water drain hose is pretty straightforward. Find the drain outlet on the back of the drying machine. It's usually a small, round opening. Take the drain hose and attach it securely to the outlet. You can use a hose clamp to make sure it doesn't come loose.
The other end of the hose should be connected to a suitable drain. This could be a floor drain, a sink drain, or a dedicated laundry drain. Make sure the drain is clear and can handle the water flow from the drying machine.
Step 7: Test the Machine
Before you start using your drying machine, it's a good idea to run a test cycle. Turn on the machine and select a short, gentle cycle. Listen for any strange noises or vibrations. Check if the water is draining properly and if the machine is heating up as it should.
If you notice any problems during the test cycle, stop the machine immediately and check the connections. If you can't figure out what's wrong, don't worry. Just reach out to us, and our team of experts will be happy to help you troubleshoot.
Step 8: Final Checks
Once the test cycle is complete and everything seems to be working fine, give the machine a final once - over. Make sure all the connections are tight and there are no leaks. Check the power cord for any signs of damage or overheating.
You can also take a look at the user manual again to familiarize yourself with all the features and functions of the drying machine. This will help you get the most out of your new appliance.
Related Products
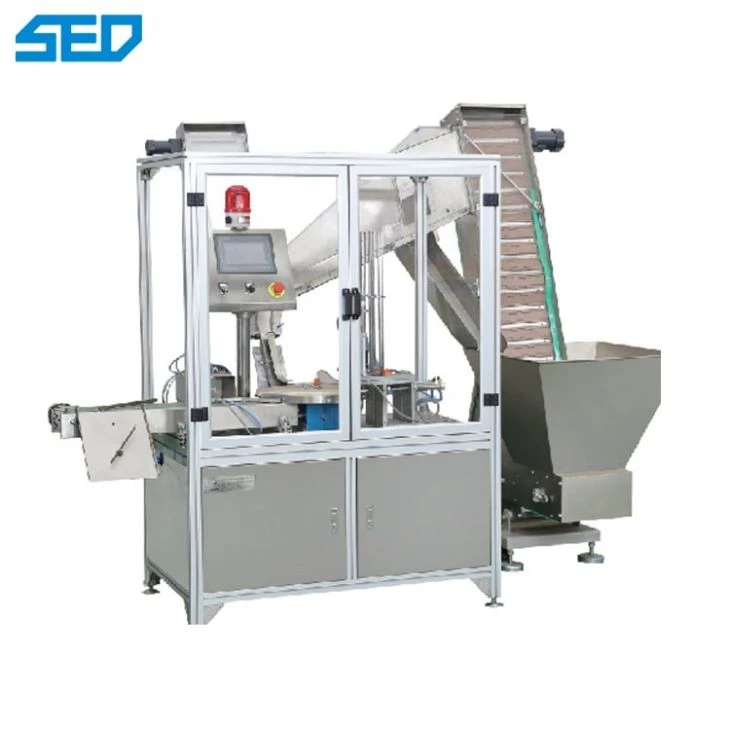
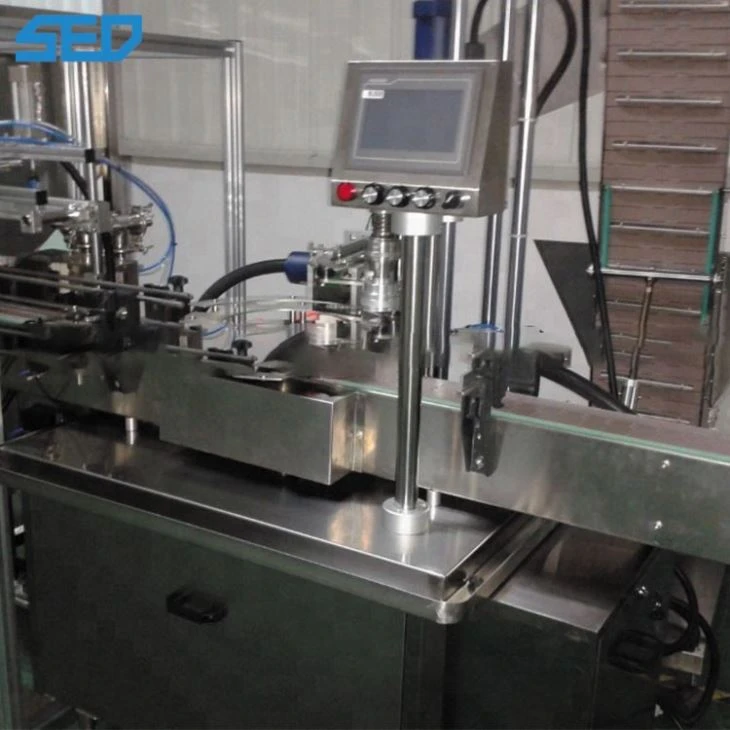
If you're in the business of bottling and packaging, you might also be interested in our other products like Rotary Capping Machine, Bottle Capping Machine, and Bottle Cap Assembly Machine. These machines are designed to streamline your production process and ensure high - quality packaging.
Contact Us for Purchase and Consultation
If you're interested in purchasing a drying machine or have any questions about the installation process, we're here to help. Our team of experts can provide you with all the information you need and assist you with any after - sales support. Whether you're a small - scale business or a large - scale industrial operation, we have the right drying machine for you. Don't hesitate to reach out and start a conversation with us about your specific needs.
References
- Manufacturer's user manual for the drying machine
- General knowledge and experience in the drying machine industry